Date:2025-03-03
/Update:2025-06-20
FABRIK – Forward And Backward Reaching Inverse Kinematics in Processing
This article introduces the FABRIK algorithm, a method used for inverse kinematics in applications like robotic arms and character animation.

This article introduces the FABRIK algorithm, a method used for inverse kinematics in applications like robotic arms and character animation. Unlike traditional approaches that rely on joint rotations and matrix calculations, FABRIK adjusts segments forward and backward iteratively using simple geometric calculations to reach the target position.
The full sample code for this article is available for download on Patreon after following.
(It uses Processing for the implementation.)
☕ Support my Work:) / Coffee Supplier on Patreon
Understanding FABRIK
FABRIK (Forward And Backward Reaching Inverse Kinematics) was proposed in 2011 by Andreas Aristidou and Joan Lasenby as a more intuitive and efficient alternative to traditional inverse kinematics methods. Instead of calculating joint angles, FABRIK moves each segment based on its distance to the target while maintaining segment lengths.
How FABRIK Works
- Forward Reaching:
1. Move the end effector towards the target position.
2. Adjust each joint sequentially while preserving segment lengths. - Backward Reaching:
1. Fix the root position.
2. Adjust the joints in reverse order to maintain segment lengths and refine alignment.
These steps repeat until the end effector is close enough to the target.
Comparison with Other Methods
- CCD (Cyclic Coordinate Descent): Adjusts each joint individually to get closer to the target. It’s simple and fast but doesn’t always guarantee smooth movement.
- Jacobian Inverse Methods: Uses matrices to determine optimal movements. While effective, they require complex calculations and can be computationally expensive.
- FABRIK: Intuitive, fast, and avoids complex matrix operations, making it ideal for real-time applications.
Implementing FABRIK in Processing
Here’s how to implement FABRIK in Processing step by step.
1. Define the EndEffector Class
Each end effector represents a joint in the kinematic chain. It has a position and a fixed length, which ensures that movements adhere to the constraints of the system.
class EndEffector {
     PVector pos;
     float leng;
     EndEffector(float x, float y, float len) {
          pos = new PVector(x, y);
          leng = len;
     }
}
2. Initialize the End Effectors
We create a list of end effectors, defining a chain of connected joints. The number of end effectors determines the flexibility of the system.
ArrayList effectors = new ArrayList<>();
int numEffectors = 10;
3. Forward Reaching
The forward reaching step moves the end effector toward the target while keeping all segment lengths fixed.
3-1. Set the end effector’s position to the target
Since the end effector is the last joint, we move it directly to the target position.
EndEffector endEffector = effectors.get(effectors.size() - 1);
endEffector.pos = target.copy();

3-2. Move each joint toward the next one
We iterate backward from the second-to-last joint to the first. Each joint moves toward the next joint (closer to the target) while preserving its length.
for (int i = effectors.size() - 2; i >= 0; i--) {
     EndEffector current = effectors.get(i);
     PVector direction = PVector.sub(endEffector.pos, current.pos); // Calculate direction
     direction.setMag(current.leng); // Set vector magnitude to match segment length
     current.pos = PVector.sub(endEffector.pos, direction); // Move joint to new position
     endEffector = current;
}
The setMag(current.length) method scales the vector to ensure that the joint moves exactly the correct distance while maintaining constraints.
4. Backward Reaching
After the forward reaching step, the root position may have moved. The backward reaching step restores the root to its original position while preserving segment lengths.
4-1. Fix the root position
The root (first joint) remains fixed at its initial position.
EndEffector previous = effectors.get(0);
previous.pos = root;

4-2. Move each joint forward
We iterate through the chain from the root toward the end effector, adjusting each joint while keeping segment lengths fixed.
for (int i = 1; i < effectors.size(); i++) {
     EndEffector current = effectors.get(i);
     PVector direction = PVector.sub(current.pos, previous.pos); // Calculate direction
     direction.setMag(previous.leng); // Maintain segment length
     current.pos = PVector.add(previous.pos, direction); // Move joint to new position
     previous = current;
}
This step ensures that the chain remains connected and respects length constraints while aligning properly with the root.
5. Visualizing the End Effectors
We draw lines between end effectors to visualize the kinematic chain and observe its movement in real-time.
for (int i = 0; i < effectors.size() - 1; i++) {
     PVector current = effectors.get(i).pos;
     PVector next = effectors.get(i + 1).pos;
     line(current.x, current.y, next.x, next.y);
}
Final Thoughts
FABRIK is a simple yet efficient algorithm for inverse kinematics, making it a great choice for real-time applications. You can extend this implementation by adding constraints for joint rotation or adapting it to work in 3D.
- If you need the complete code, it is available for download in the attached file on Patreon.
- For a deeper dive into the theory behind FABRIK, check out the research paper "FABRIK: A fast, iterative solver for the Inverse Kinematics problem" by Andreas Aristidou and Joan Lasenby.
Recommended Book
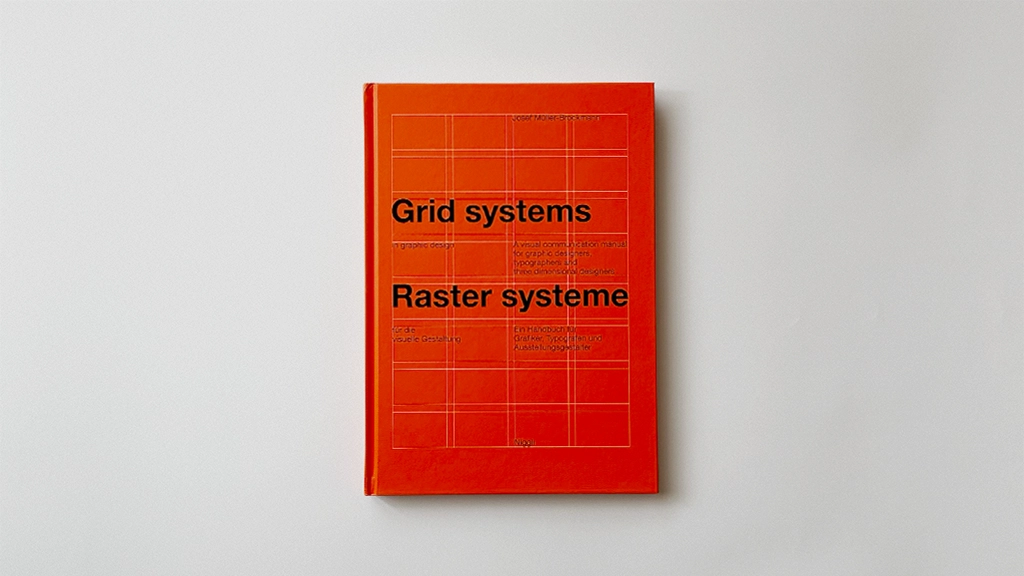
"Grid Systems in Graphic Design" by Josef Müller-Brockmann"
This book discusses grid systems, a layout method that enhances design coherence and readability by arranging text and images based on continuous rows and columns. Originally conceived for print layouts, grid systems are now utilized in all design fields, including web design. Even when creating 2D graphics with tools like Processing or P5.js, there is much to learn from this system. First published in 1981.
🌐 Support my Website
By using our affiliate links, you’re helping my content and allows me to keep creating valuable articles. I appreciate it so much:)
BGD_SOUNDS (barbe_generative_diary SOUNDS)
barbe_generative_diary SOUNDS will start sharing and selling a variety of field recordings collected for use in my artwork “Sound Visualization” experiments. All sounds are royalty-free.
