Date:2022-03-09
/Update:2022-03-11
[How to] Tidal Cycles Installation for M1 Mac
How to install Tidal Cycles on a M-1 Mac. This post may be difficult to read due to the use of automatic translation. I would appreciate it if someone could help me.
PC Environment / macOS Montery Apple Silicon Mac
Currently, the specifications of the M1 Mac are slightly different and cannot be installed with the Tidal bootstrap (installation package) alone. Please change the contents a little and install. Follow the steps one by one.
1. Download and install Homebrew.
Homebrew is now available for arm Mac. Start the terminal without checking “Open using Rosetta” in Terminal > Info and install Homebrew using the following code.
(If you have already installed Homebrew with Rosetta, it is better to uninstall it once.)
/bin/bash -c "$(curl -fsSL
https://raw.githubusercontent.com/Homebrew/install/HEAD/install.sh)"
After installing Homebrew, enter two commands in the terminal as described on the instructions.
<Instructions on the terminal>
– Add Homebrew to your PATH in /Volumes/home/home_barbe/.zprofile:
echo ‘eval $(/opt/homebrew/bin/brew shellenv)’ >> /Volumes/home/home_barbe/.zprofile
eval $(/opt/homebrew/bin/brew shellenv)
echo 'eval $(/opt/homebrew/bin/brew shellenv)' >> /Volumes/home/home_barbe/.zprofilesource ~/.zprofile2. Automatic installation with Tidal bootstrap
Tidal bootstrap automatically installs what you need.
The following commands are from the Tidal Cycles official page on how to install.
curl https://raw.githubusercontent.com/tidalcycles/tidal-bootstrap/master/tidal-bootstrap.command -sSf | shThe following contents will be installed.
・SuperCollider (and SuperDirt)
・Atom (and the Tidal Cycles Plugin)
・Haskell Language (Ghcup) ← You will reinstall it later.
・The Tidal Pattern engine (Tidal Cycles itself)
3. Install GHC 9.2.2 (2022.3.5 release)
GHC 9.2.2 implements AArch64 NCG, so executables can be generated without LLVM.
ghcup install ghc 9.2.2 --forceReinstalling will reset the default GHC settings, so execute the following command in the terminal.
ghcup set ghc 9.2.24. Install TidalCycles library with cabal
Install tidal –lib after updating with cabal.
cabal updatecabal install tidal --lib5. Run Super Collider and add SuperDirt.
Add SuperDirt by running Super Collider.
include("SuperDirt")If “SuperDirt” appears in green letters in the lower right corner, you are done.
6. Sound test ~ Start Super Collider
Start Super Collider. Click “Boot Sever” next to “Sever:” in the lower right corner to start. When the indicator in the lower right turns green, the startup is complete.
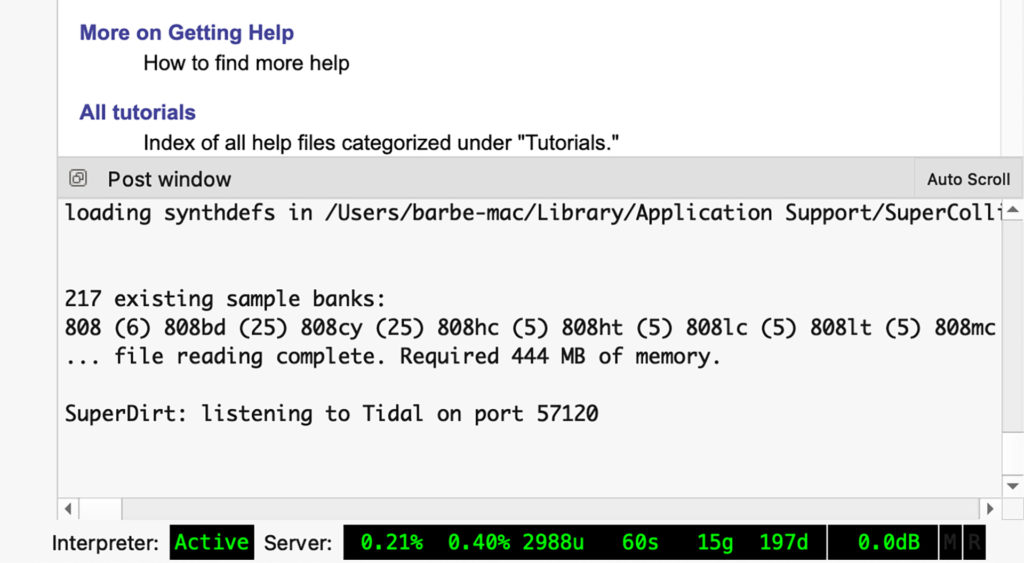
7. Start SuperDirt
SuperCollider File から Open startup file を選択。IDEに下記記載のち⌘+Enterを入力します。
Select Open startup file from SuperCollider File, enter the following in the IDE, and then press ⌘+Enter.
SuperDirt.startWhen “SuperDirt: listening to Tidal on port 57120” appears in the Post window in the lower right corner, the startup is complete.
8. Atom ~ Sound test
After creating a new Atom file, save it with the extension “.tidal”.
Enter the following sample code and check if it produces sound.
d1 $ sound "bd"If you hear the bass drum sound, you are successful. have fun.
ーーーーー
If you have any questions, please send a message to Tidal club.
Installation and other operations in the environment are the responsibility of the user.
Thank you.
ーーーーー